Monday, August 30, 2010

Joshua's First Day of Kindergarten


My Joshie is in Kindergarten!  I can't believe it!  It seems like just yesterday that I was rocking that cute little baby and singing him to sleep.  Where did the time go?

He was excited and ready to go this morning.  As we drove to school we all prayed for Josh and that he would have a good, safe day.  Of course, I started crying.  Josh said, "Mom, don't make me cry."  I explained to him that I wasn't sad, just proud.  I told him that he made me happy and that I was happy he was my son.  He just smiled real big. 

Here he is putting his backpack in his cubby.

I wanted a picture with my Kindergartener.  I'm not sure why my husband didn't say, "Hon, your hair is hanging all funky on your forehead.  Can you push it to the side?" 
Oh well, Josh is the cute one...even with the little bruise on his forehead. 

We got him situated at his table and then said our goodbyes. 
No one cried anymore, we were all smiles.

He didn't even look back to see that we had gone.  I know because I stood there watching. 

I had a long day today and I really thought that just having Caleb and Simon would make it easier.  And perhaps some days will be but today, was not. 
Here's my big boy waiting on us to pull closer.  I really missed my big helper today.  But he said he had fun and he was really excited to tell us all about it.  He said he wasn't able to play basketball at P.E. and that "was a problem". 
I assured him there would probably be a chance for him to play basketball at P.E. another day. 


Sippy Cups and Cloth Bums

My Points Rewards Me--Are You Getting Your Rewards?


This is what I got in the mail this weekend!  
A $20 Regal Movie giftcard! 
Would you like to know how I got it?!

Ok, so I don't usually write posts like this but I just had to share this company with ya'll!  I'm so not turning this blog into a way to get more referrals for things or anything like that.  I promise. blog for family memories, for fun and for social reasons.  But I feel like I am witholding valuable information from ya'll if I don't share this.  So here it goes.  Please no ugly comments, just don't read it if you are not interested.

Mypoints.  Have you ever heard of them?  I started doing mypoints in 2008 and since then have cashed in my points, my "mypoints" if you will, for over $200 in gift cards.  This is a reward site that lets you earn points in lots of different ways.
-By signing up
-By referring friends
-By online shopping at stores that are their affiliates (ex: Walmart, Target, JC Penney and so many more!)
-By opening their emails and clicking through to look at their offer (you don't have to buy anything!)
-By answering surveys they send to your email

I'm sure there are more ways but I can't think of them right now.  I think you get the picture though.  I earn my points by making sure that whenever I buy anything online...I go through them.  I also click through the emails.  I don't do the surveys, although I do other survey sites. 

I wanted to share this with everyone because I really don't see why anyone would not want to do it.  It's easy to do and the choice of rewards for cashing in your points is amazing.  There are all kinds of companies you can get giftcards to.  I say go give it a look and if you want to sign up I would really appreciate you emailing me so I can send you a referral link to do so.  That way we are helping eachother.

I hope I didn't offend anyone.  Again, I wouldn't have posted this if I didn't think it was worth it. 

Sunday, August 29, 2010

Member One Boot Camp Week #4

Really I shouldn't even count this week.  It was a pathetic excuse for exercising and is not worthy of me dignifying it with the title of Boot Camp.  However, this is really about me journaling my exercise and being able to honestly look at what I am doing and then maybe shame myself with my lack of effort or praise myself when I do a good job.  This is definitely a shame week.  Still I am half a pound lighter which brings me to a total loss of 9.5 pounds!  I am not sure how I did it...

Tuesday was the only day that I did a real workout.  I did a lower body workout using the My Fitness Coach Wii game.  It was 30 minutes and the instructor had me doing mostly lunges, squats and leg extensions.  I'm not sure how many or how many reps there were.  It was a good workout and I had every intention of doing another one on Thursday but it just didn't happen.  Oh well, this is the start of a new week, right?

I've heard that there is a Zumba class at one of the gyms here in town and you just come when you want and it's $5 a class.  I did some Zumba when I was a member of a gym back in Texas and I really had fun.  I was thinking this may be a good deal.  I mean that is only 20-25 dollars a month.  Oh, and I still have not found my tape measure.  I may just have to brake down and buy a new one.

Saturday, August 28, 2010

Mod Podged Letters

I've had the wooden letters that spell out the boy's names in their rooms for sometime now.  I had painted them but when I went to hang them up in their new rooms I thought they could use a Mod Podge Makeover.  I think I would Mod Podge the toilet seat if my husband would let me!  There are a ton of tutorials out there for doing this and I would love to tell you that mine is different but I really don't think it is.  However, if you have never done anything like this before than you will be able to follow my tutorial with no problem.

You will need:
Your letters (mine are the wooden ones from Michaels)
Paper (I used scrapbook paper for Josh's and giftwrap for Caleb's)
pencil
scissors
Mod Podge (I used gloss)
paint brush

Here are all my supplies. 
You can see where I have traced each letter onto the back of the paper.  That is your first step.

Next cut out each letter from your paper.  Your paper letters will be a tad larger than your wooden letters. I chose to take pictures of the "U" because I wanted you to know that "U" can do this!  It's super easy and so much fun!

Next paint a layer of Mod Podge onto your wooden letter.  I read somewhere that if you put it on your paper and what you are fixing it to then you would have less trouble with bubbles.  However, by putting it on the paper I had more trouble getting it to unroll and put on my wooden letter.  So I would not suggest doing that in this case.  It worked much better just putting it on the wooden letter only.

So then you line up your paper letter on your wooden letter and smooth it on out.  You may need to smooth for a while to get out any wrinkles. 

Ok, this is the messy part.  I brushed a layer of Mod Podge all over the top and on the sides and then I used my fingers to press down the edges of the paper around the sides of the letter.  Again this may take several rubs and smoothings. 

You follow those steps with each letter and then let them dry for at least an hour and then brush another layer of Mod Podge on.  You can do as many layers as you would like.  I just did 2 layers.

He really likes them! 

I got a good glare from the flash off of this one. But it was the only one of Caleb where he was smiling.

Here is a close up of the letters.  I had to make sure that I was placing the letters on places on the paper where I would have characters on the letters.  So if you have a paper like that you have to think about what you want to show on your letters. 

I hope that tutorial wasn't too hard to follow.  Feel free to email me with any questions you may have.  Have fun Mod Podging!

Linked to:


Funky Junk's Saturday Nite Special


Photobucket


The Girl Creative


Josh Meets His Teacher

On Thursday we went to Josh's school for Meet the Teacher.  I think he was excited but he was a little cautious also.  We were able to show him around his classroom and introduce him to his teacher.  He was really excited about the computers in his classroom and the playground.  It was really strange to think that I have a child old enough to be in school.  Old enough to have an independant life from me.  We have been having some issues at home with attitude.  I am really hoping that having this distance from me and his brothers during the day will help.  I know we will miss him though. 


He finds his seat in the classroom with a little help from Dad.  They are filling out a scavenger hunt.

Looking into his classroom from the door.

From inside the classroom looking toward the door.

They all got ice lollies from the PTA....mmmmm!


Friday, August 27, 2010

The Biggest Goose Egg I've Ever Seen


My poor Joshie fell on Tuesday night and hit his head on the toy lawn mower.  I guess when you are going full speed ahead even a toy lawn mower can do some damage.  It freaked my hubby and I out just because we had never seen a bump so big.  The size of the thing was alarming and so I took some pictures of it and emailed them to my Mom, who is a nurse.  I'm not in the habit of taking pictures of my kid's injuries.  Not usually.  But I called my Mom to get advice on whether or not I should take him to the doctor and I though a picture or two would help her to make a recommendation.  Thankfully, we did not have to take him to the doctor and after ice was applied for several minutes (on and off) the swelling did go down some.  And now there is just a bruise there with a bit of swelling.  You would think after a knot of that size that the bruise would be huge too but it's not.  Just a little one right in the middle of the knot.  I told him it looked like he was going to sprout a unicorn's horn!  I don't think he appreciated that.  My Dad remarked that we could paint an eyeball on it and that Josh could then have 3 eyes!  Josh didn't go for that...durn.
Just another shot so you can fully appreciate the size of this bump!

Wednesday, August 25, 2010

Tuesday, August 24, 2010

Recipe of the Week: No-Fuss Beef Lasagna

his is a recipe that I have used for the past 4 years.  I started getting tired of those frozen lasagnas and wanted to have a fresh, homemade recipe that was easy.  No offense to the frozen lasagna eaters.  But once you try this recipe you won't want to buy the frozen ones any more either.  Not to mention that if you make 2 pans you can eat one that night and freeze the other!  Enjoy the lasagna and as the Italian's say, "Buon appetito!".

No-Fuss Beef Lasagna
Makes 12 3x3 inch squares
**I used turkey for this tutorial, and not a person in my family could tell the difference. Plus I think I left the instant coffee out on the counter and I definitely did not put that in my lasagna.**

Ingredients:
1 pound ground beef, lean

1/4 teaspoon salt
1 jar spaghetti sauce
14 1/2 ounces Italian-style tomatoes, undrained
1/4 teaspoon red pepper, ground
15 ounces part-skim Ricotta cheese
1/4 cup Parmesan cheese, grated
1 egg, beaten
10 lasagna noodles
1 1/2 cups part-skim Mozzarella cheese, shredded

Heat oven to 375ºF. In large nonstick skillet, brown ground beef over medium heat 8 to 10 minutes or until no longer pink. Pour off drippings. 

Season beef with salt; stir in spaghetti sauce, tomatoes and red pepper; set aside.
Meanwhile in medium bowl, combine Ricotta cheese, Parmesan cheese and egg.

Spread 2 cups beef sauce over bottom of 13 × 9-inch baking dish. Arrange 4 lasagna noodles lengthwise in single layer. Place 5th noodle across end of baking dish, breaking noodle to fit dish; press noodles into sauce. **My pan is not big enough for 4 noodles across.**

Spread entire Ricotta cheese mixture over noodles; sprinkle with 1 cup Mozzarella cheese.

Then top with 1 1/2 cups beef sauce. Arrange remaining noodles in single layer; press lightly into sauce. 

Top with remaining beef sauce.

Bake 45 minutes or until noodles are tender. Sprinkle remaining Mozzarella cheese on top; tent lightly with aluminum foil. Let stand 15 minutes; cut into 12 (3 × 3-inch) squares.

Finished!

Andiamo a mangiare! (Let's go eat!)


Show and Tell Green

My Yard Sale Finds

This past Saturday we went to a couple of yard sales and I came away with some good stuff for only $18! Yahoo! I love stuff that has the potential to be "re-did"! So coming soon, like in the next 3 months, I'll be doing some fixin' up on this stuff. 


I already put the planter into use. 
 I'm diggin' it as a shoe organizer. 
 I just need to get some spray paint and then it will be awesome!

Mad Scientists and Their Crazy Experiments

I decided that today would be Mad Scientist Day in this house!  I thought they could use a little messy time and frankly so could I.  I like to have everything cleaned and organized but I like to get messy and dirty too.  I looked up a couple of "recipes" for our experiments and then set to work to create a "laboratory" for the mad scientists. 

I covered my table in newspaper and then put out all the ingredients and tools we would need.  I guess I couldn't get away from the organizing completely.

We all put on our aprons and I told them the only rules were: they were not to eat any of the things we made (Simon broke that one) and they were to wait for instructions before experimenting.

The first experiment we did was a color mixing experiment.  I had prepared glasses of water and food coloring for us to use in this experiment.  I explained to them that when different colors are mixed together, they can create new colors.  We had talked about this before but I wasn't sure how much they remembered. 
Here is the chart that I made and I told them that these were our instructions.  That we needed to mix the two colors that it showed and then put the color that it made after the equals sign.  So I let them each have a turn to mix a color. 

Caleb is finding out what color yellow and blue make. 
Josh just can't resist "helping".

They both observe that yellow and blue make green

Josh mixes red and blue together to make purple!

Even the littlest scientist mixes up yellow and red to make orange!

Here is the full results of our experimentation with colors. 

The next experiment we did was with cornstarch and water.  Does anyone know what that makes?  Yep!  Magic Mud!

You use 5 T of cornstarch and

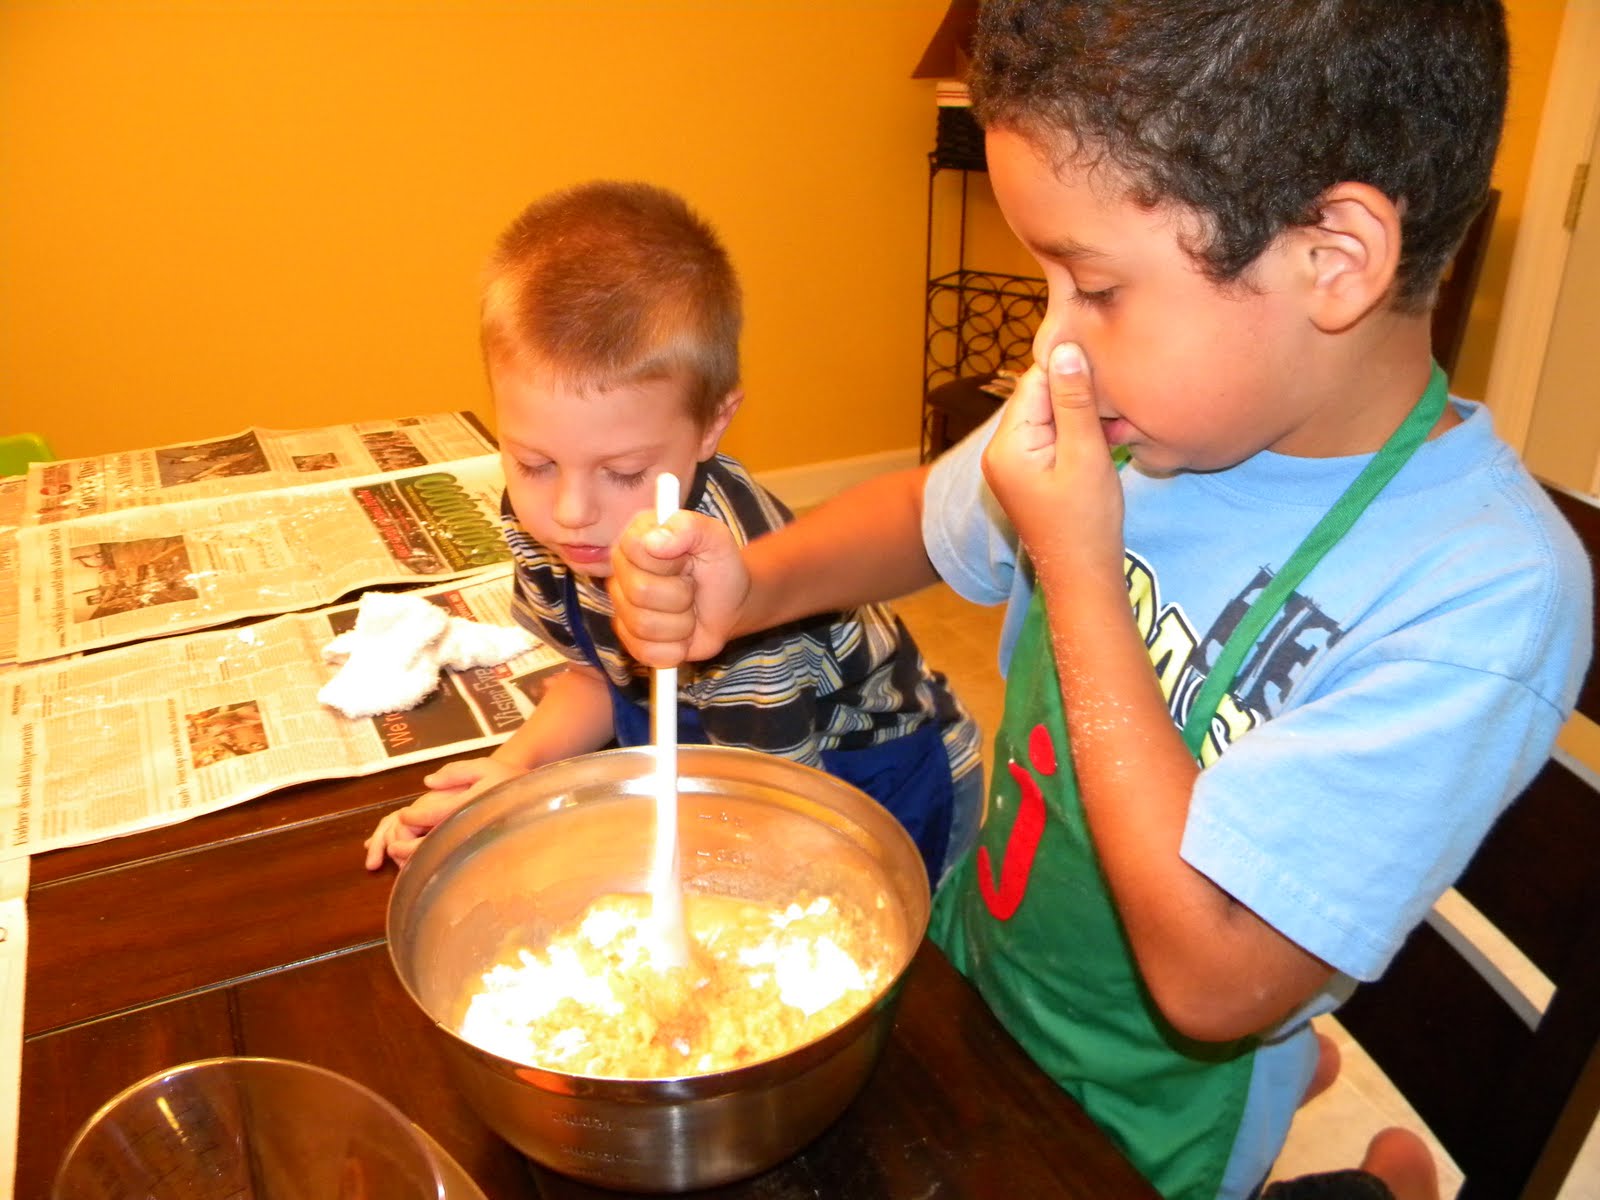
2-3 T of water.  We used some of our colored water because we are just resoureful like that.  Then you stir.  It will be hard to stir and the big, mad scientist may have to help the little, mad scientists out with the stirring.


But then you will have this!  A BIG cornstarchy mess.  Just kidding!  It's a fun goop to play with!

It's hard to the touch when poked firmly, but if you just set your finger on it then it sinks down into it just like a liquid.  If you roll it around into a ball it will stay as long as you're rolling and then when released it turns all liquidy. 

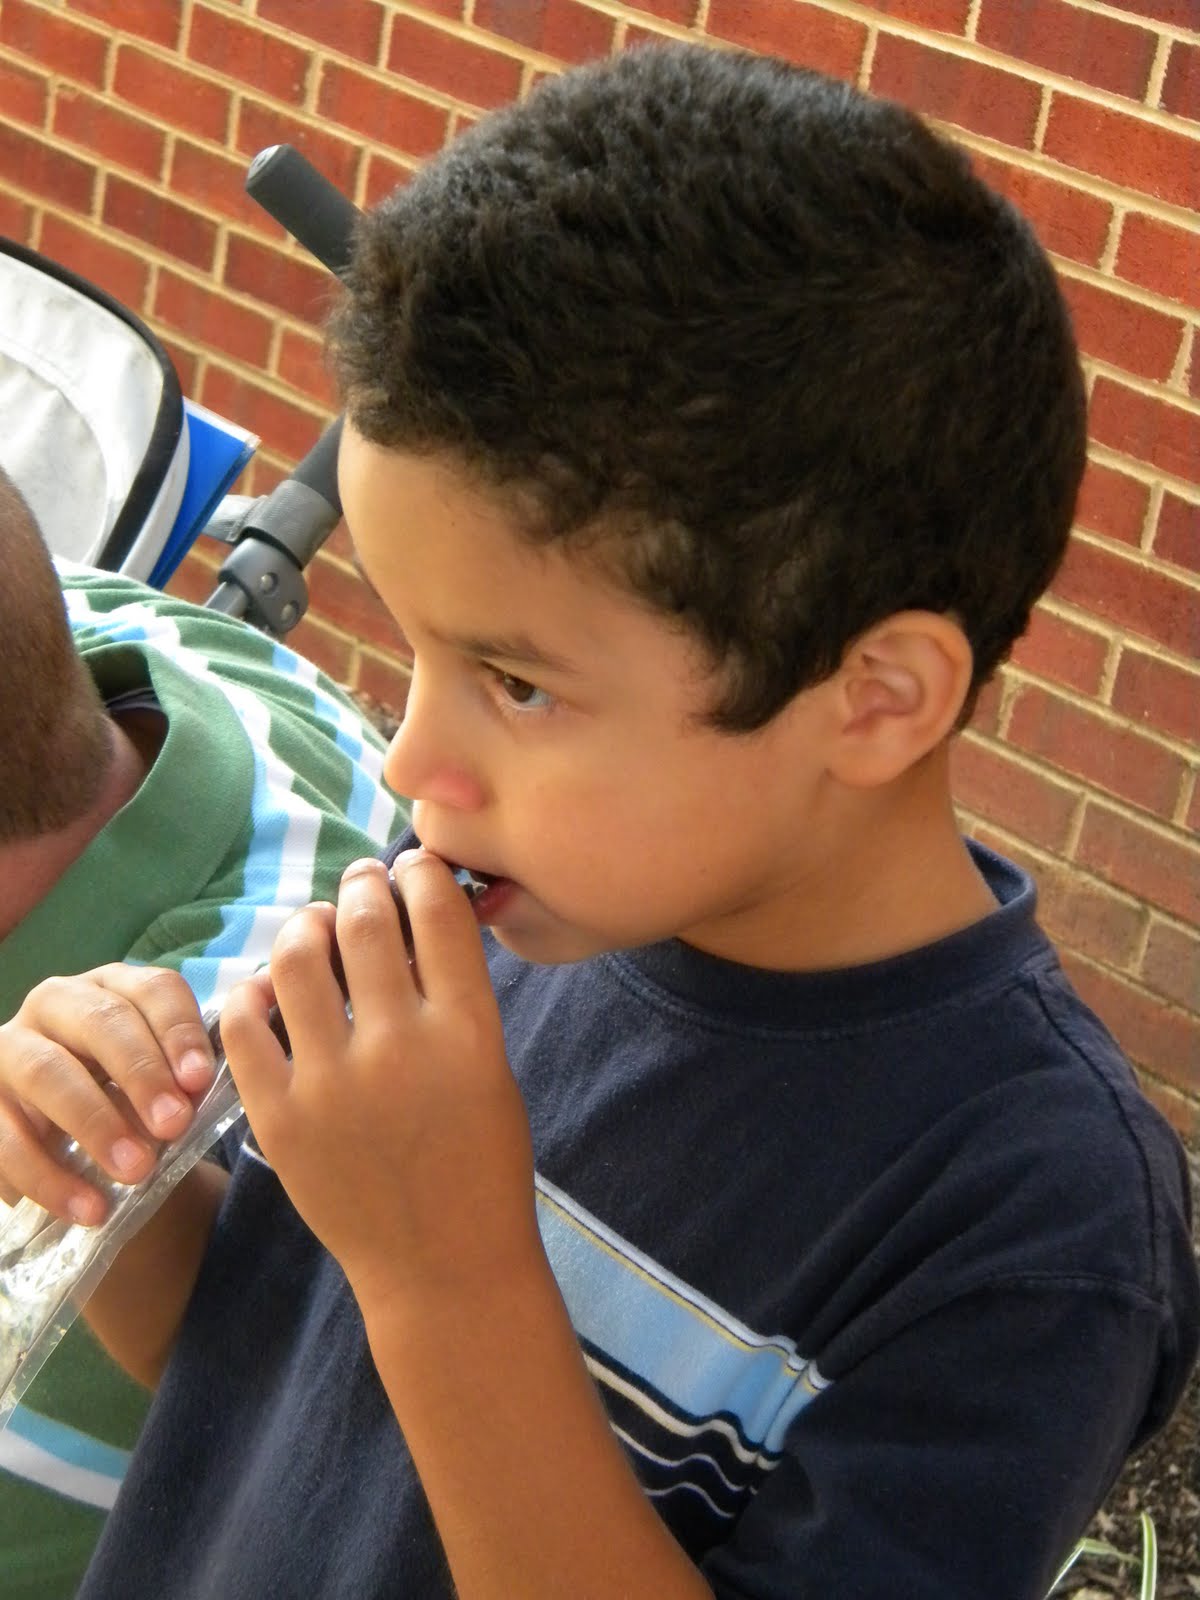
Simon experimented with the taste...he said it was, "Yuck!"

Then, even though there was cornstarch ALL over my floor, we did our third and final experiment for the morning.  We made Kool Aid-Play Dough

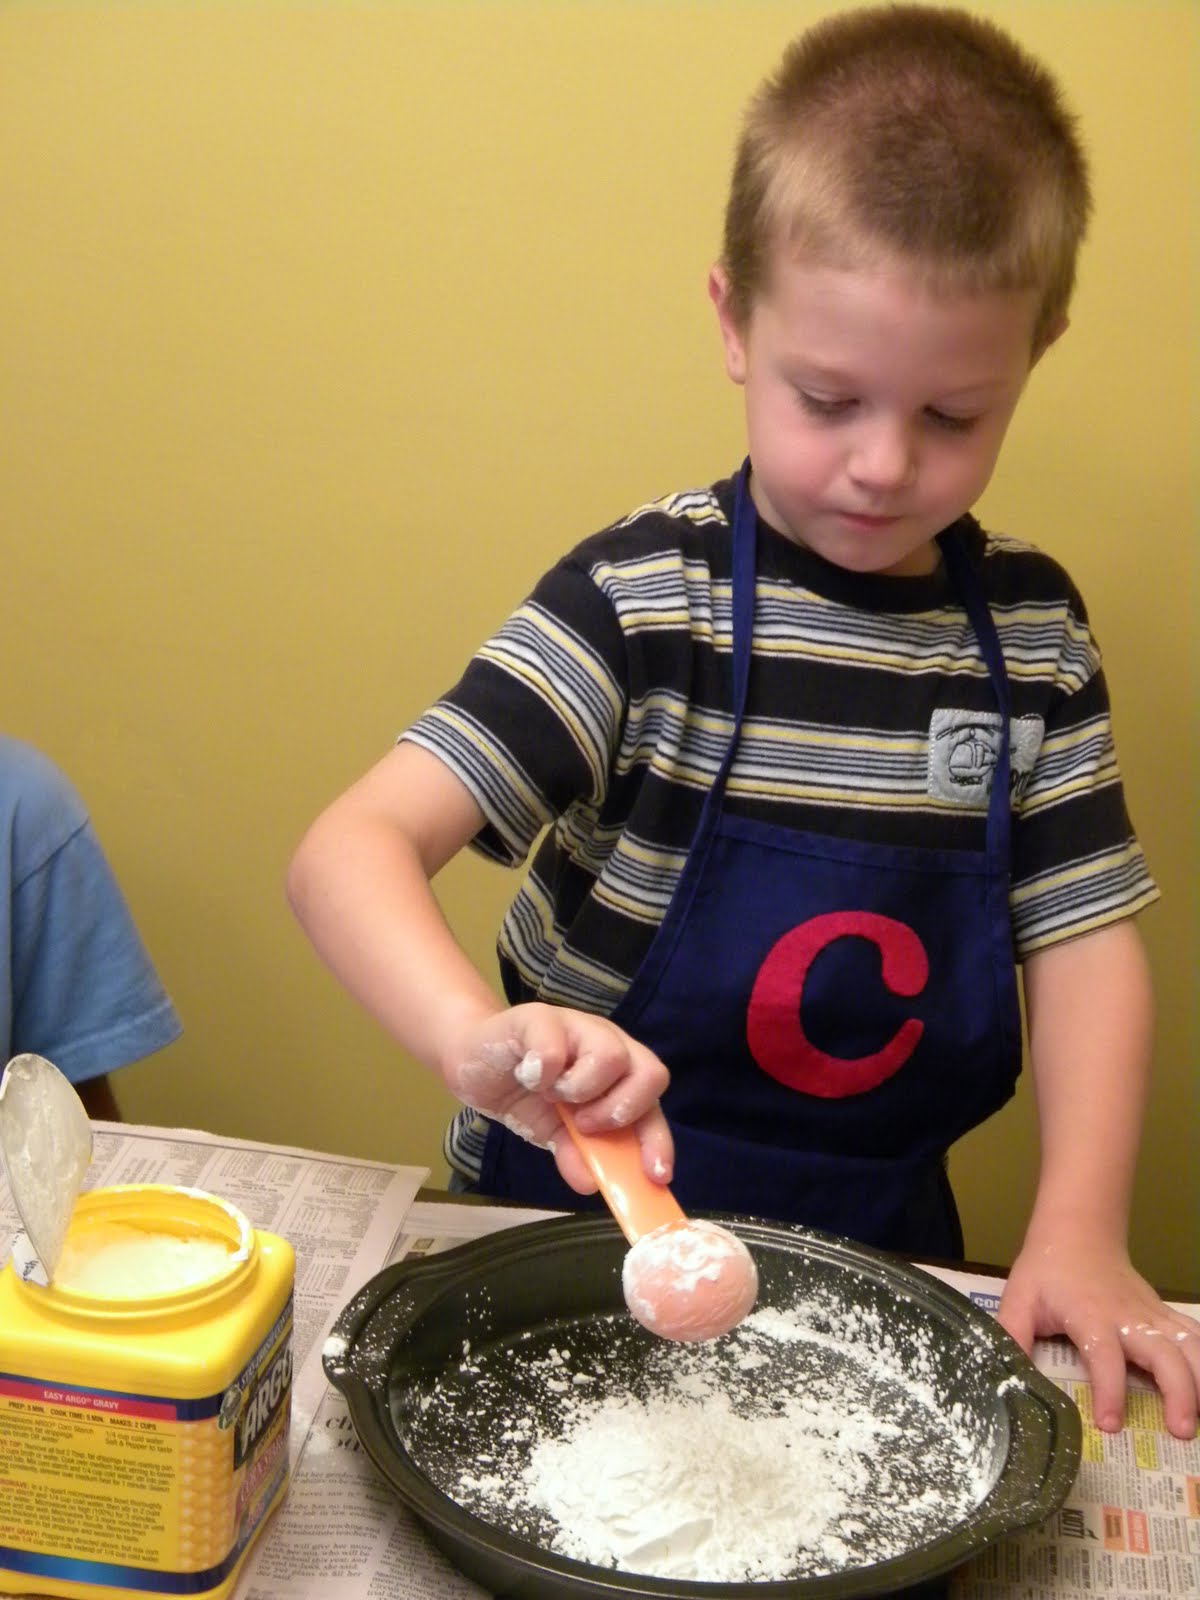
Josh did such a good job of measuring out the flour.

Caleb is measuring out the salt. 
He kept stopping and saying, "Is that all?"

Caleb added the orange Kool-Aid while Josh stirred.  I gave them the choice between orange or grape and of course one chose orange and the other grape!  I had to hold them behind my back and have Caleb choose a hand to make our decision.

Then I poured in the boiling water and the vegetable oil and Josh stirred for a little while.  Then he said it was too hard and stinky! 

The littlest scientist experimented with the markers while the rest of us made play dough.  I like the apron with no pants look.  It kind of reminds me of the chaps with no pants look! 

The dough was great fun for our Mad Scientist experiments.

Cutting play dough is so much FUN!

And yes, I gave Simon a knife...but I promise it is not sharp!  What kind of mother do you think I am?!
What I really like is the brown marker that found it's mark on his face.  Oh yeah, and he ate some of this experiment too!

We spent over two hours doing our experiments and there was no fighting, whining or complaining.  Just lots of mess making.  I mean experimenting.  I love my Mad Scientists!

It works for me!


Swidget 1.0